Location of manual survey send button
On the top right corner of your screen, click the purple plus (+) button.
A pop-up box will open.
Type the name of the person you want to send the survey to into the Customer Name field.
Select the name of the Survey that you want to send to that person in the Form field.
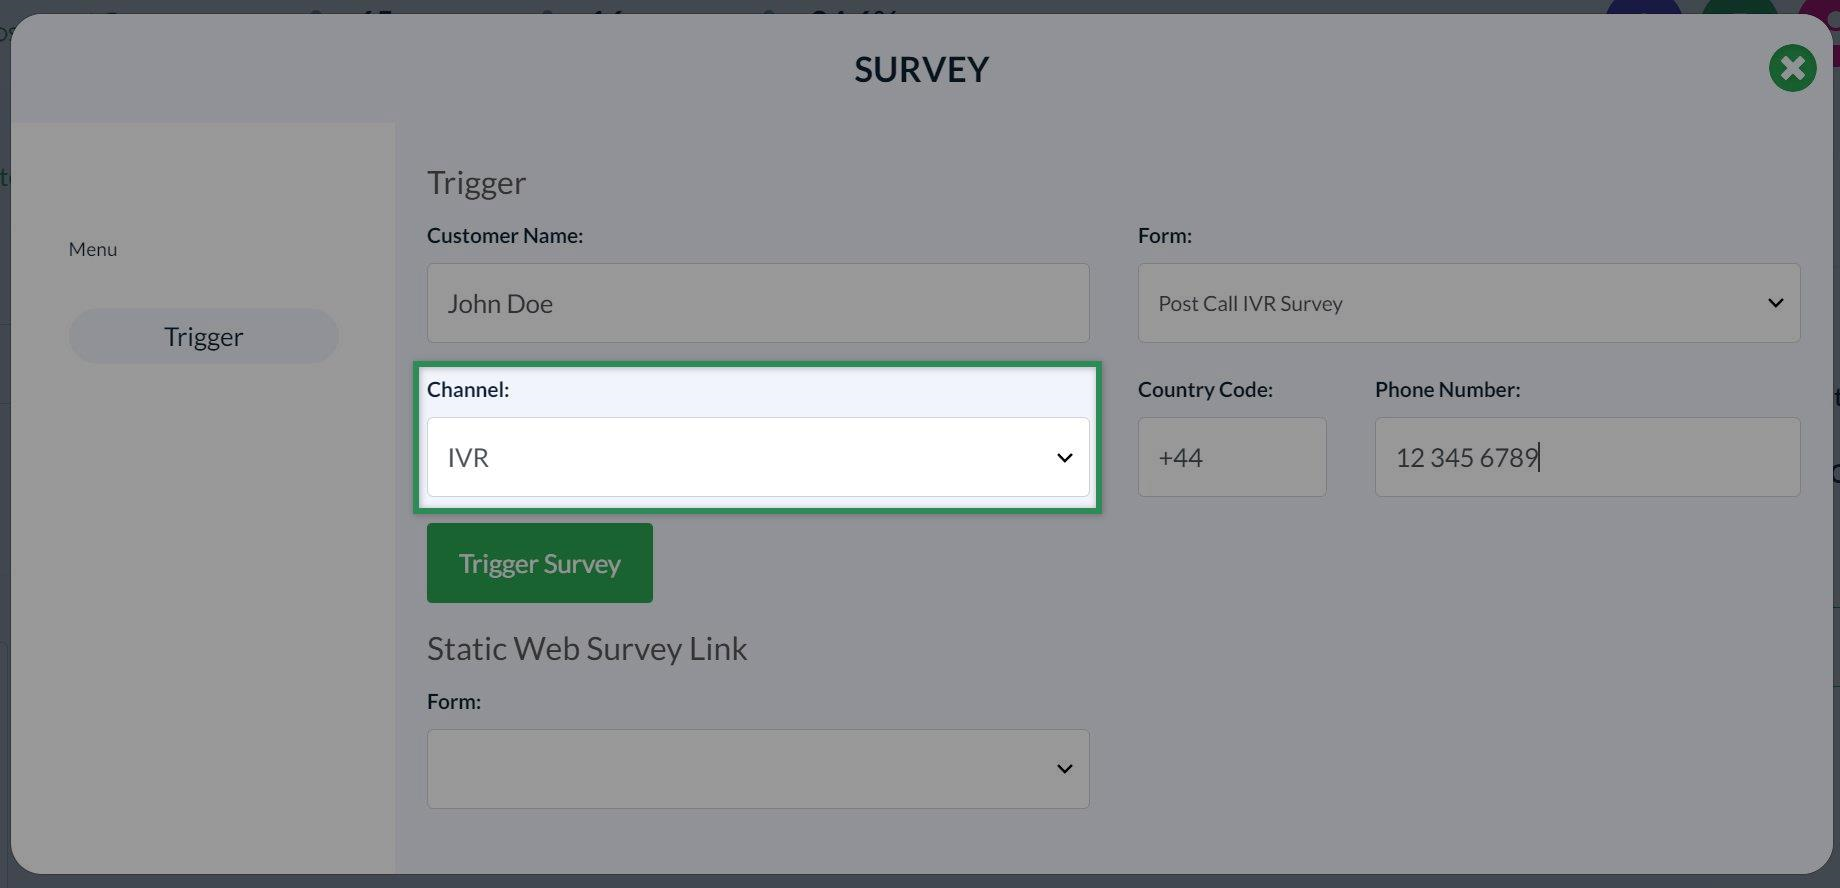
Select the Channel to use to send the survey (see below for details per channel).
Sending by IVR
If the survey selected is an IVR survey, IVR will automatically be selected in the survey Channel dropdown.

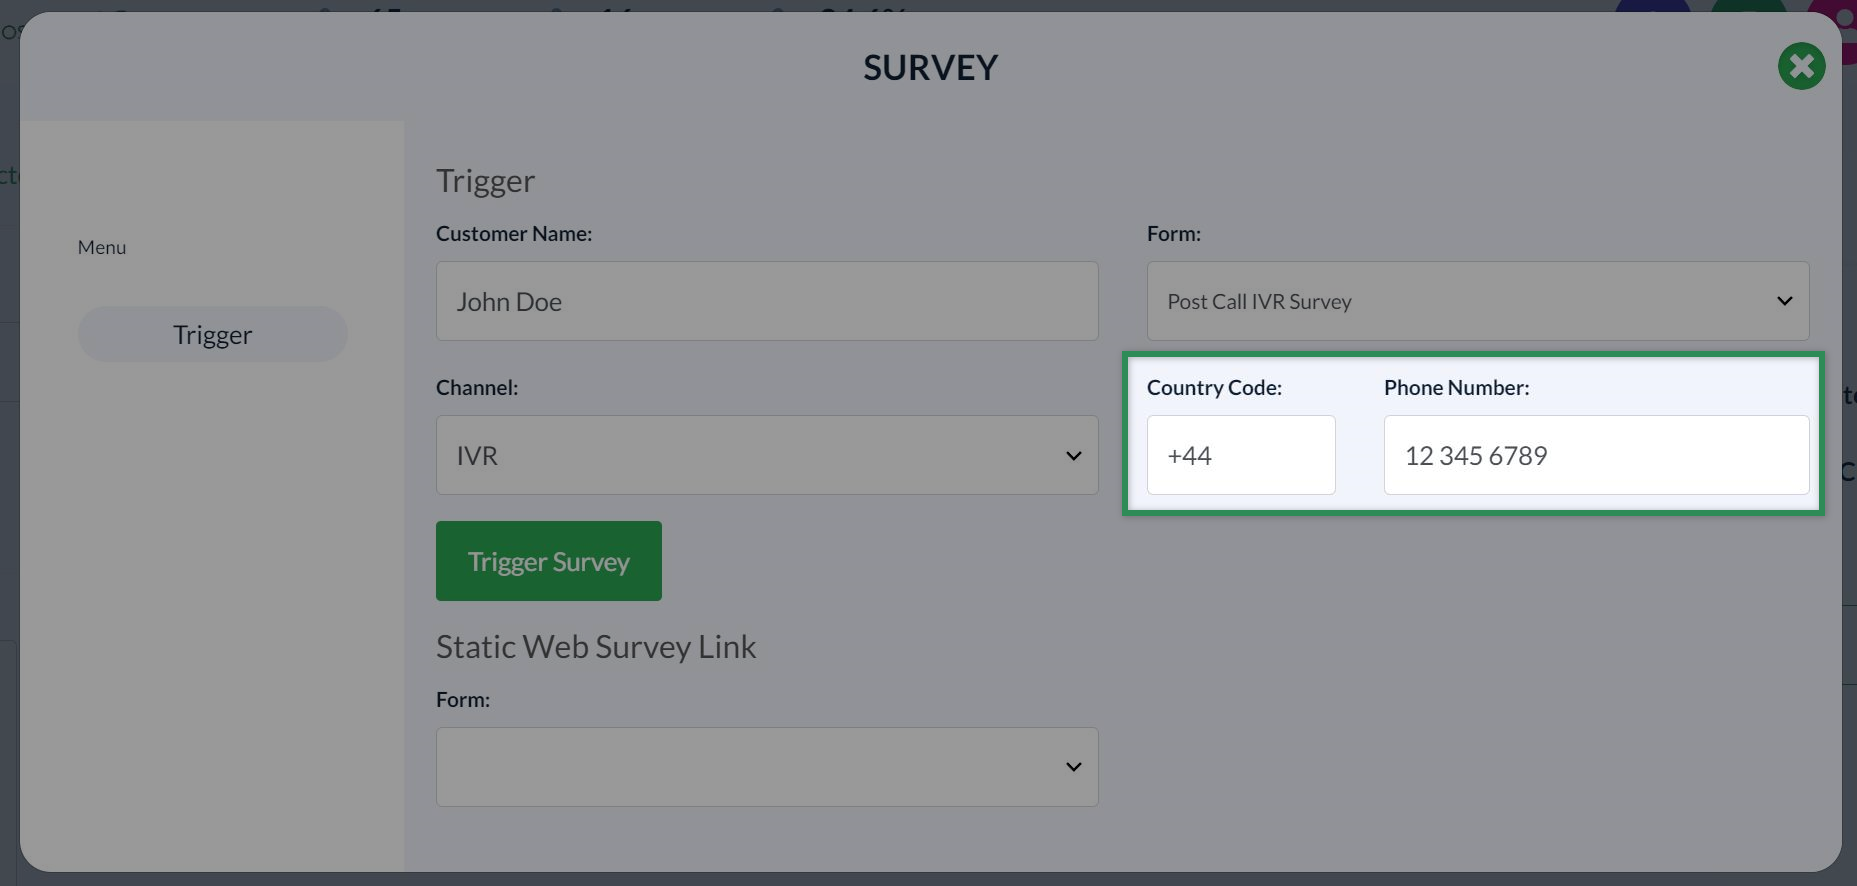
Type the recipient's country code & number in the relevant fields.

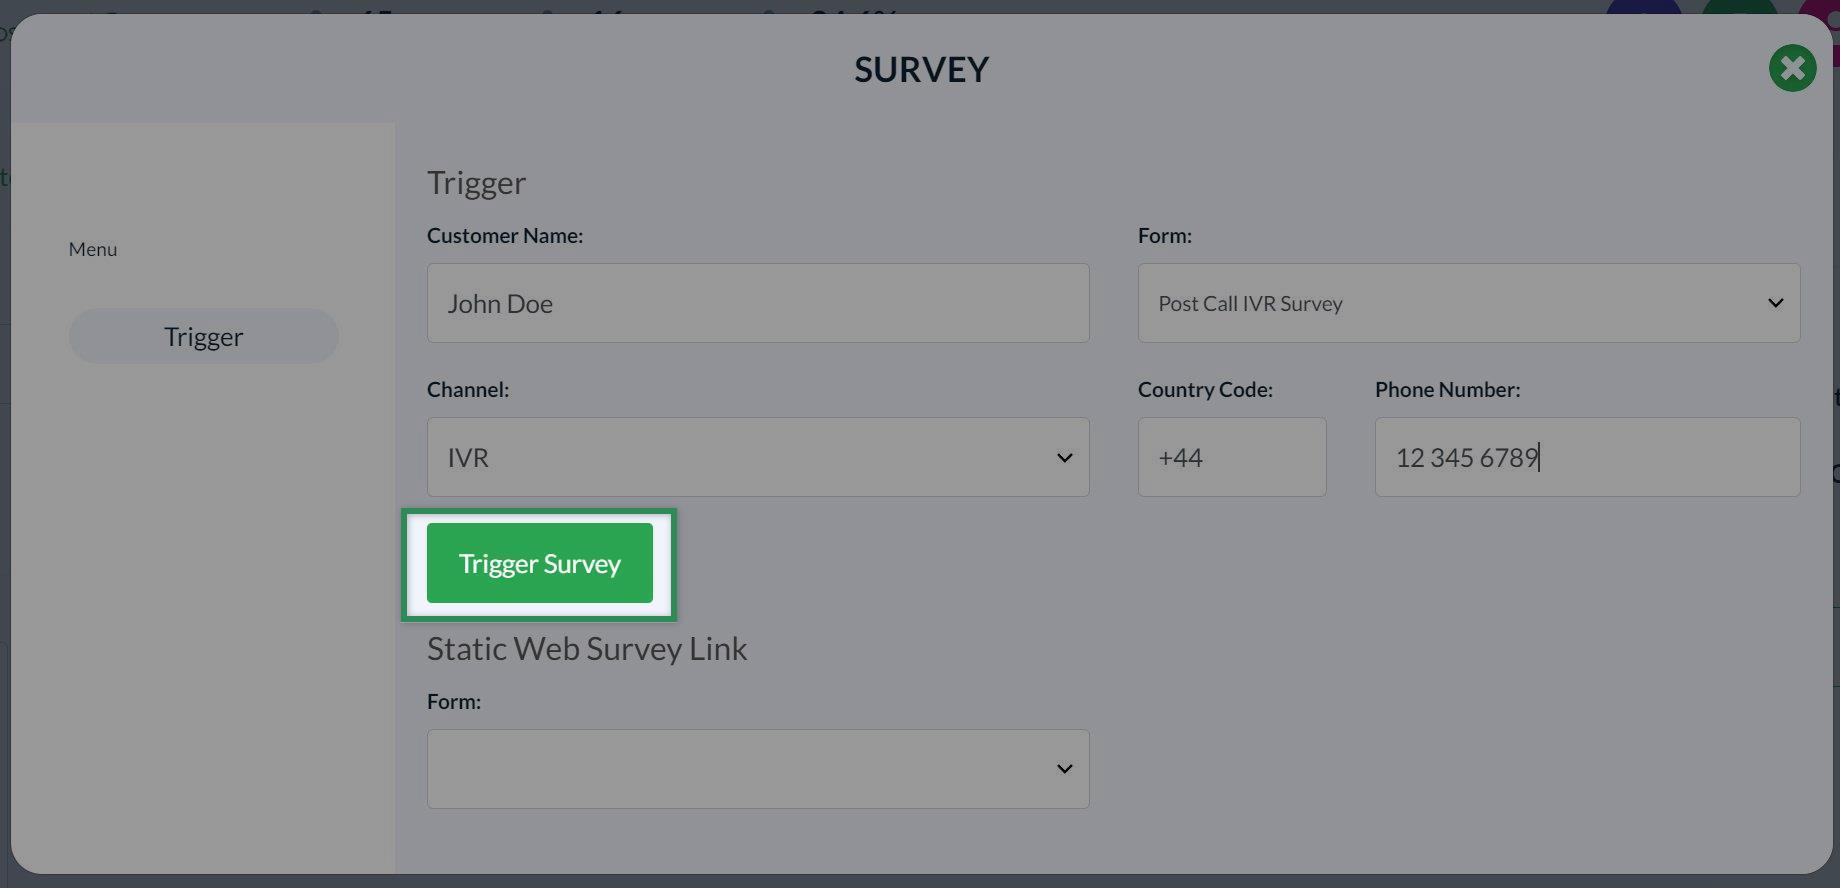
Click Trigger Survey to send the survey by IVR to the target phone number.

Sending by Email
In the Channel dropdown, select Email.
Type in the recipient’s email address in the Address field.
Click Trigger Survey to send the survey by email to the target email address.
Click the X icon in the top right corner to close the pop-up box.
Sending by SMS
In the Channel dropdown, select SMS.
Type the recipient's full number in the phone number field. Please note:
- If a country code is included, the number will not be modified.
- If there is no country code passed, the country code will be added, like this: 123 123 123 => +44 123 123 123.
- If someone includes the country code but does not add a plus sign, the default country code will be added, like this: 44 123 123 123 => +44 44 123 123 123.
So it's important to add plus sign when passing a number with a country code.
Also ensure that the recepient's number is a mobile phone number, as a land line is unable to receive an SMS message.
Once you’ve typed in the phone number, click Trigger Survey to send the survey by SMS to the target mobile phone number.
Click the X icon in the top right corner to close the pop up box.
Sharing a URL link via a channel external to CX Index
Sometimes you want to be able to generate a link to share in another communication channel (e.g. your work email, SMS, chat). To do this, use the Web functionality.
In the Channel dropdown, select Web.
To share a URL for the survey external to CX Index (e.g. via your work email client), click Generate Link.
Next, copy the web survey link generated, and paste into the external communication channel you’re using to send that person the survey.
Remember, each URL is unique to a particular survey, and should not be reused.
Click the X icon in the top right corner to close the pop up box.
How to create a static survey link
A static survey link refers to a fixed URL that remains the same over time. It leads directly to a specific survey and relates to a specific agent.
Using static link for testing - please contact an admin
If using this function for testing, please contact an admin to delete the survey record.
Static survey links remain unchanged and can be shared across multiple platforms, such as emails, websites, and social media.
For example, an agent might include the static survey link in their email signature. This allows respondents to access the survey easily without the need for individual invitations or personalized links.
Note that static survey links can collect feedback multiple times from the same customer. Check therefore that the static survey link is the best method for collection of the survey data in the particular use case.
On the top right corner of your screen, click the purple plus (+) button.
A pop-up box will open.
Under the Static Web Survey Link heading, in the Form dropdown, select the name of the Survey that you want to create a static link for.

The static survey link will appear below.