With CX Index, you have the ability to track the customer experience across all areas. Our platform supports communication with customers on a wide variety of channels, allowing customers to solicit feedback however they prefer.
CX Index’s omni-channel capability currently supports the following:
- Chat surveys
- Email surveys
- Voice (IVR) surveys
- SMS surveys
- Social Media surveys
- Website pop-up surveys
To create a survey
Click the pink Survey Builder button on the top right corner of your page.
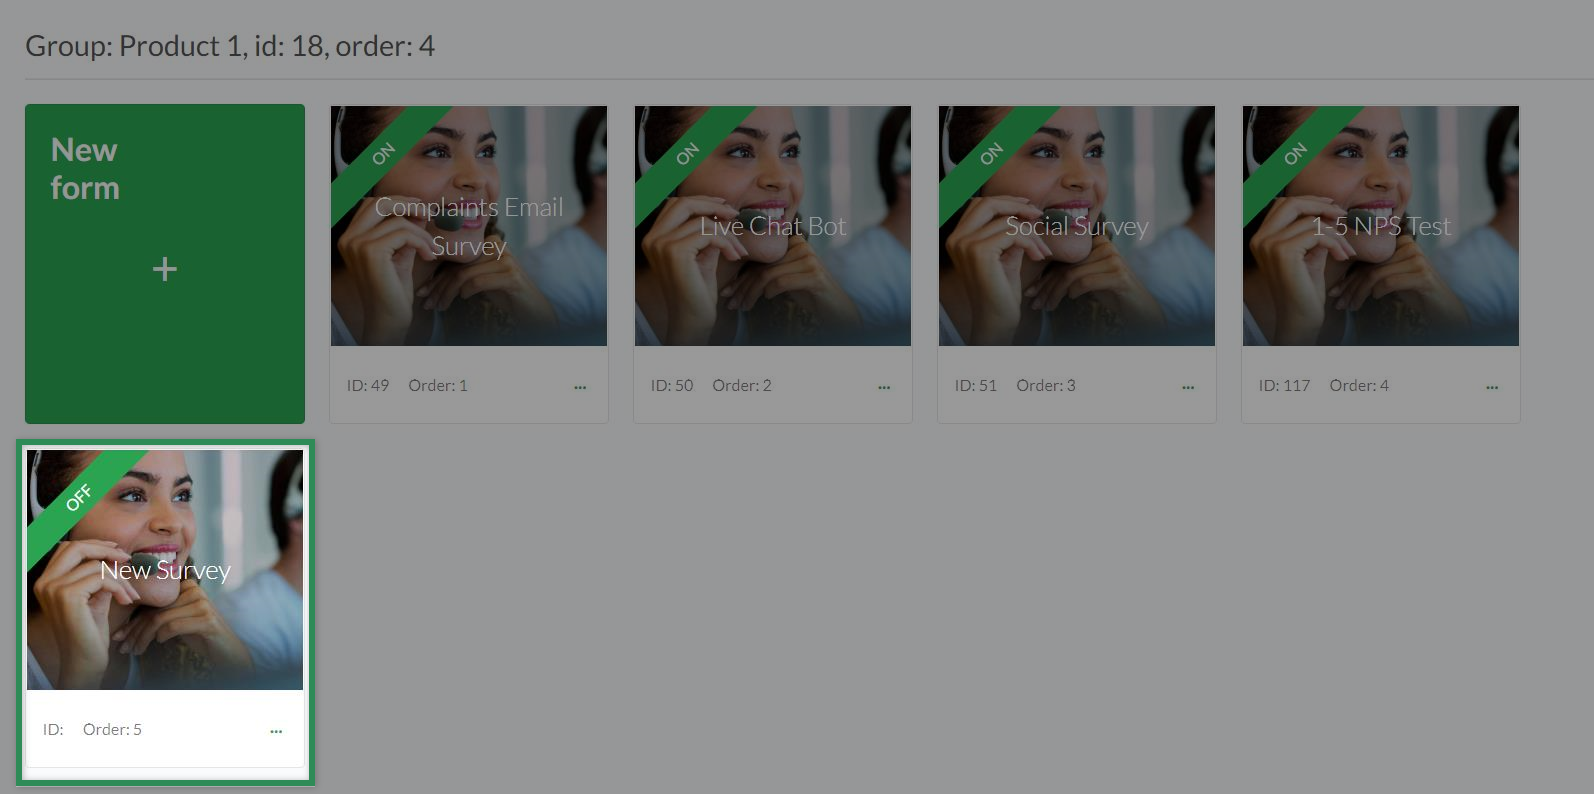
This brings you to the Survey Builder page. On the left of this page, you can see a list of Form Groups. Click the name of the group you want the survey to be in.
This displays all surveys currently in the selected group.
Click the New Form button.

This opens a pop-up window where you can fill in the following fields:
- Form name (the name of the survey)
- Form Reference Name (usually some form of Survey ID or reference name)
Click create form. The new survey is added to the group.
To configure a survey
Click on the relevant survey.

On the left of the page you can see two headings;
- Settings
- Content
Click on Settings to open a pop-up window where you can configure the survey.
To add questions
To the right of the Content heading, click the grey ADD(+) button.
Select the desired question type from the dialogue box.
This opens a pop-up window where you can fill in the required fields for the question.
IVR Fields
| Title | The question being asked e.g. “How likely is it that you would recommend us to a friend or colleague?” |
| Audio | The audio url, or the audio file’s storage path. |
| Question Reference Name | The relevant metric to correspond with the question e.g. NPS. Select the relevant metric from the dropdown list. |
| Collect input (checkbox) | For Short Text question type - whether the question will only output audio, and not take any answer e.g. “Thank you for your feedback”. |
Email, SMS & Web Fields
| Title | The text displayed for the question e.g. “How likely is it that you would recommend us to a friend or colleague?” |
| Question Reference Name | The relevant metric to correspond with the question e.g. NPS. Select the relevant metric from the dropdown list. |
| Required (checkbox) | Whether the question is required to be answered for the survey to be completed. |
| Show Not Applicable button (checkbox) | Whether there will be a Not Applicable button displayed for the question. This allows the customer to skip the question if it does not apply. |
| Display only text message (checkbox) | For Short Text question type - whether the question will only display text, and not take any answer e.g. “Thank you for your feedback”. |
| Multiple Selection (checkbox) | For Select question type - whether the customer can make multiple selections |
| Min/Max Value & Label (checkbox) | For Opinion Scale question type - the lowest and highest values that can be selected, and their corresponding labels. |
| Range (checkbox) | For Rating question type - the range of values that can be selected for the rating e.g. 1-5, 1-10, etc. |
Fields for all survey types
| Conditional Logic | Hide the next question when the answer to the current question is equal to, less than, or greater than a certain value. |
| Case Management | Open a case when the answer to the current question is equal to, less than, or greater than a certain value. |
Once the necessary fields have been filled, click the Add Question button at the bottom of the window.
The new question appears on the screen, and has been added to the Content column on the left.
To save changes
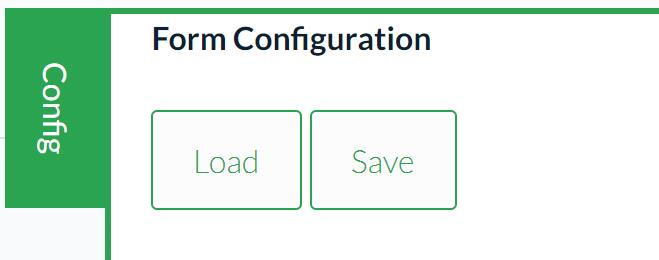
When you make changes in the survey builder, you need to save them using the green Config tab on the right. Click the Config tab, then click the Save button.

It can be useful to keep the Config tab open while working on a survey and click "save" intermittently, so that nothing gets lost if you get logged out or leave the page.
To re-order/edit/duplicate/delete a survey question
In the Content column on the left of the screen, find the question you would like to move. Click the ellipses to the right of the question.
To re-order: Select Move up or Move down to re-order the questions as desired.
To edit: Select Edit. This opens the pop-up window where you can edit the fields of the question.
To duplicate: Select Duplicate to make a copy of the question.
To delete: Select Delete to remove the question.
Survey Design
How customisable is the survey design?
Your survey is an extension of your brand, so CX Index has made survey design is very customisable both in terms of the aesthetic elements of the survey and the survey questions themselves.
Putting thought and attention into the design of your survey reflects on the brand of your business. It communicates to the customer that their opinion is important; that they matter.
Benefits? You'll want to customise to:
- Increase the completion rate of the survey,
- Improve the quality of data submitted, and
- Strengthen the brand experience.
There are a host of design templates and styles that can ensure a company's brand is represented in the best way possible. This means going above and beyond the usual insertion of a logo on top of a survey.
If required, custom CSS is also available upon request for survey design.